
Do you use UNDO for before & after preview of an effect in Lightroom?
Hey folks, what’s up? I noticed that many people don’t know about this simple yet very helpful option called Before and After view in Lightroom. Many are using the UNDO or CRTL+SHIFT+R when switching from effects or any type of editing in Lightroom. Why do that when you can have a before and after preview in same or split window inside Lightroom!
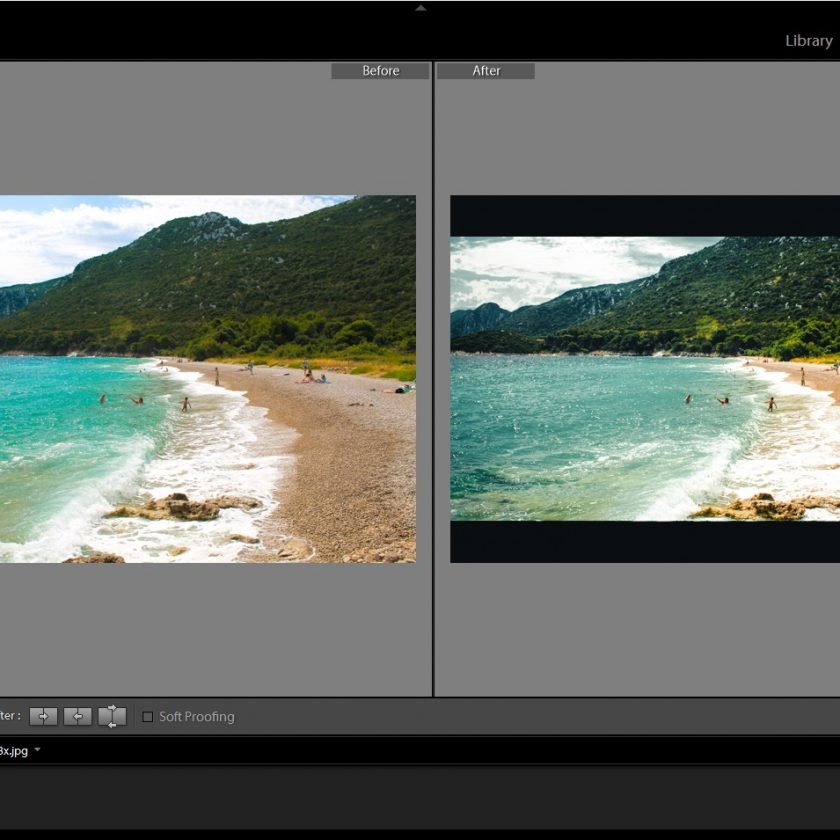
This option can be very useful when you are editing photos. There are couple of styles for the before/after view and each one can be good. It is up to you to choose depending on the type of photo you are editing as well as personal preference.
You can have a look at the YouTube tutorial video here.
Where to find the Before and After view in Lightroom?
In order to find where the option is located, check the screenshots below. Click on the small arrow on the right side to see all 4 styles of the before/after view.


Want some FREE Lightroom Presets to test Before and After view in Lightroom?
If you want to get some FREE Lightroom Presets to edit your photos, visit our SHOP. More freebies coming soon, stay tuned! Subscribe to our YouTube channel to get regular notifications for new freebies. You can also subscribe for our newsletter and get unique free material that might not be shared with others!