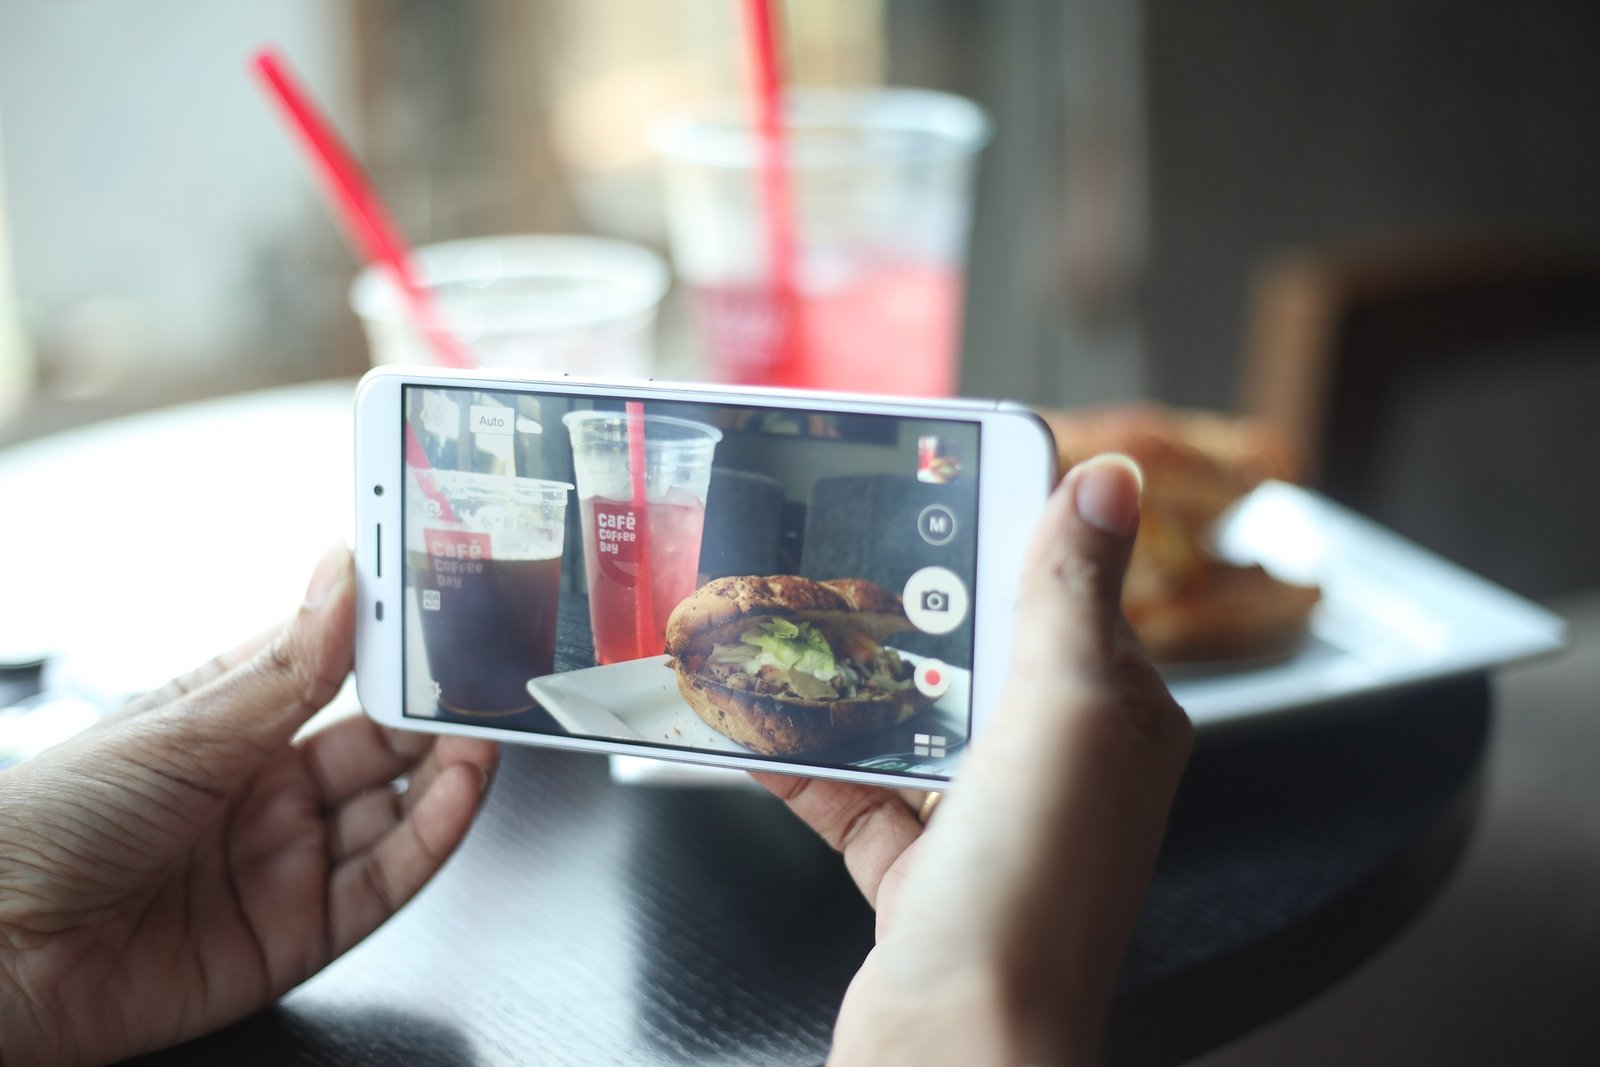
We’ve all seen (and maybe even posted) some really bad photos of food. From the camera flash unflatteringly bouncing off your plate in a dark restaurant, to bad photos made worse with oversaturated filters, good smartphone photography is becoming more and more of an art. Here are 10 tricks that will take your food photos to the next level!
Use your phone’s grid setting
There’s a tool on almost all smartphone devices that allows you to overlay a grid onto every photo you’re taking. That way you can make sure that your lines are straight, or you can easily divide your frame into thirds. On an iPhone, you can find the “grid” toggle in your photo and camera settings. For the Android/Galaxy, you should check the settings in your camera app. If you can’t find the grid toggle, you can always download a third party app like Camera 360 to turn it on.
Use the exposure slider
We bet you never knew that you could control the exposure on your phone much like on a DSLR camera. When you open the camera app, focus on your subject manually with the touch of your finger. You should see a little image of a sun appear. If you slide your finger up and down the small bar that appears, you can control the amount of light in your photo even before you take the picture.
Know your angles
Two angles are the best for taking dynamic photos: shooting at eye-level or slightly underneath your subject, and shooting from a bird’s eye view. If you’re going to do the latter, get up on a chair to make sure the entiresubject is in the frame, and that the lines are completely straight. Taking a photo from above is an easy way to get an entire tablescape in one photo. However, a close-up shot can reveal details like moisture, texture, and color.
Take advantage of natural lighting
Obviously natural lighting is ideal. If you’re in front of a window, use it. But if you have windows all around, your image will be too washed out. You want to aim for having shadows because they create contrast and texture to the subject that you’re photographing.
If you find yourself in a restaurant with low lighting, be sure to either bring a portable clip-on light with you or have a friend use the light on their phone to help you out. No matter what you do, avoid the flash! It washes out your image and makes even the tastiest dishes look unappealing. The best light sources come from the side instead of above or behind your subject.
Play with negative space
Don’t feel like your subject has to take up the entire frame. Play with “negative space.” Detail shots are great, but don’t be afraid to let your food only take up a third of the frame. If there’s a simple backdrop you can place your food in front of, that works well.
Play with props
The best way to think like a food stylist is to bring other objects into the frame. Don’t be afraid to use napkins (clean ones!), condiments, and table decorations to make your composition more interesting. Even something as simple as angling your plates or playing with garnishes can bring a photo to life.
You don’t just want to take a picture of food, you want to bring the moment or atmosphere to life. Make it feel warm and alive. Props can help tell a story.
Don’t be afraid of bringing people into your frame
Another way to bring your photo to life? Use people. Something as simple as a person’s hand grasping a glass, or even just people interacting with and enjoying food can sometimes (but not always) make a food photo more lively. Make sure people are wearing dark, muted colors, particularly black or grey. Bright clothing will draw the eye away from the delicious food you’re photographing.
Never zoom manually
If you want to take a detail shot, you should physically step closer to your subject instead of using the digital zoom. This goes for any phone photos. Digital zoom will just make your image pixelated. You’re better off cropping the photo afterwards.
Take lots of photos
Move props around, get different angles, etc. You’re better off taking 25 photos and getting one spectacular shot than quickly snapping one or two that come out poorly.
Edit photos afterwards
Don’t only using the photo editing app that comes with your phone, but also download a third-party app that can more easily fine-tune color, brightness, and contrast, like Snapseed or VSCO.
Editing is where you create your own personal style and take the image to the next level. You can also easily correct some mistakes or even awful lighting.
Source: ThisIsInsider
Tuts and Reviews is a photography & filmmaking resource site. We find and feature freebies from around the web provided by trusted sites and photographers as well as video or film creators. Make sure to browse our listing in the Freebies section! We also create our own digital products (free & paid) which you can check in our shop. Follow us on Facebook.